June 2016 Update: The design I am building has changed once again and will be entirely different from the one pictured here. I’m keeping the new design under wraps for now—hopefully you will enjoy seeing it revealed as it is built!
Ok, so let me be honest: the loft in my tiny house has always been a bit of an afterthought. In fact, my design in its original form bypassed the loft altogether. Not only am I not a fan of heights, but the low ceilings can sometimes give me a mild case of claustrophobia. So for me, the addition of a loft to my design was more of a “might as well” kind of prospect. I figured that it would be good for storage, if nothing else.
I had thought a lot about how to get up to my loft, but the loft itself was just a stark, open 12’ x 7.5’ space. Although there was a lot of room (enough for 3 twin beds) and plenty of space for extra storage, the only window was at the far end (I didn’t like how additional windows looked from the exterior), and since it took up the entire wall, it made the prospects for using the area for storage awkward. Putting the storage space toward the living room end would block the view to the room below, while putting it on the window end would block the view of the window. Putting storage on the sides would narrow the space, and still run into issues with the window at the end. Something about the whole space just seemed bland and uninteresting, and impractical in spite of its large size.
Well, I’m happy to say that—at long last—I’m excited at the prospect of using my loft! Here’s what I came up with:
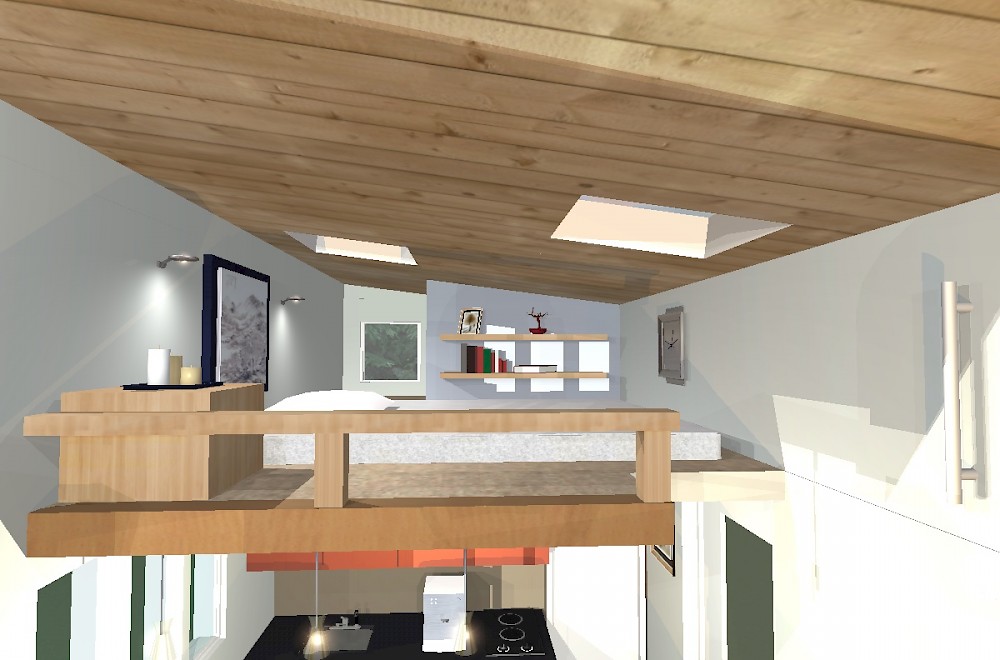
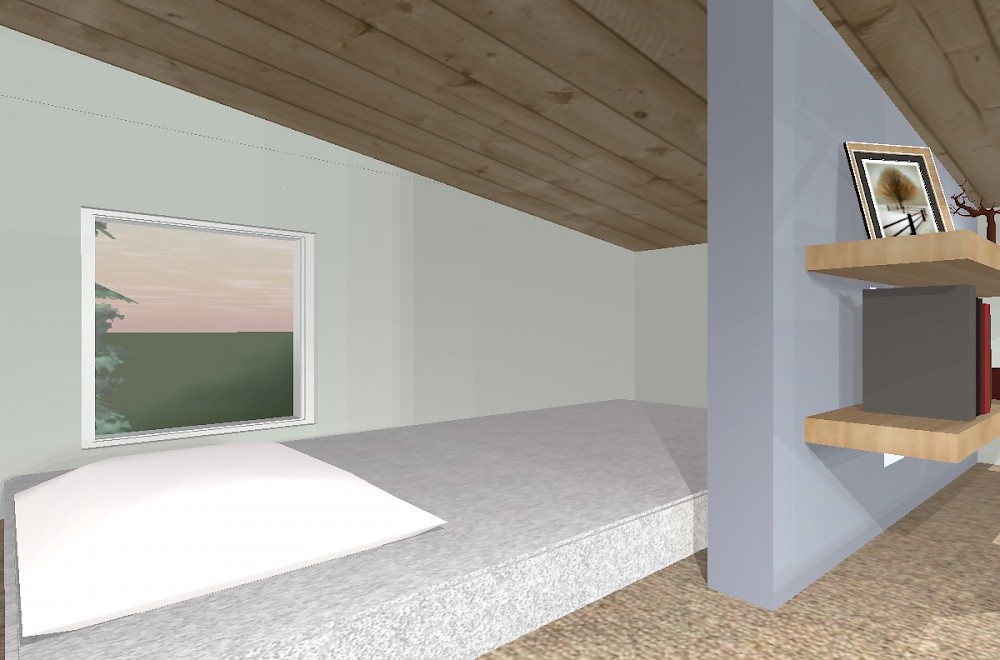
The loft is now partially divided into two areas. The first is a large area capable of comfortably fitting a queen sized mattress, a side table, and some book shelves. The old stout window that used to span the entire back wall has been replaced by a square window (in a sense mirroring the small window on the opposite end of the house) which forms a little “nook” or bay. I think this adds visual interest and an element of fun to the design.
But it also has a practical side, like any good design decision should:
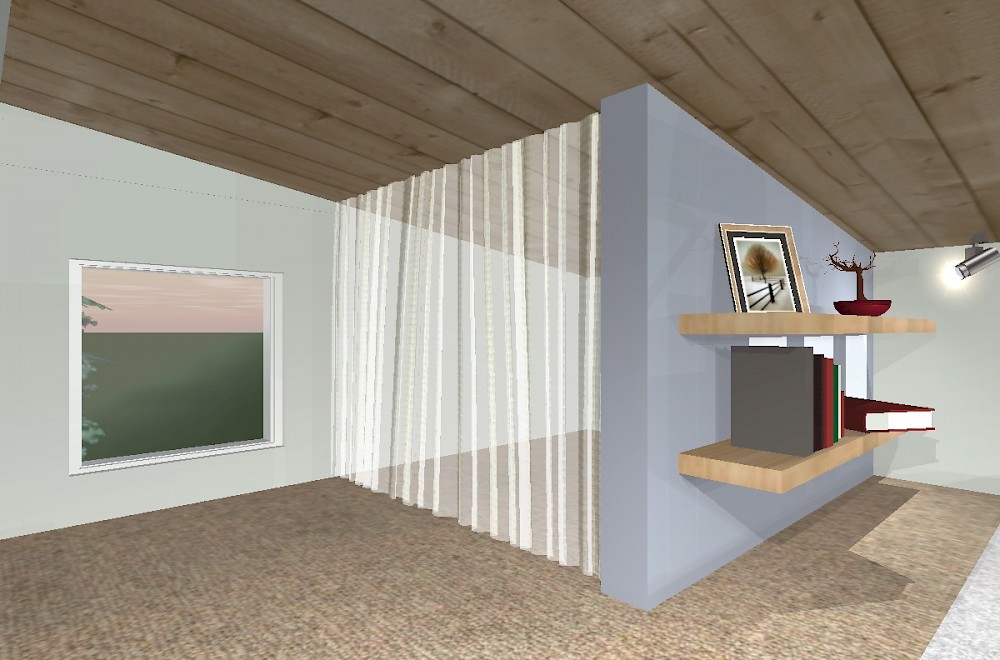
The space behind the wall is a spacious storage closet, which is sectioned off by a curtain. Here’s the cool part, though: It’s also just wide enough to fit a standard twin-size mattress in case you have need for housing a visitor for the night. In this case, the curtain could be rehung to separate the two sleeping spaces, or simply removed altogether:
Cozy, huh?
(Note: The window will be operable and also provides an egress in case of emergencies.)
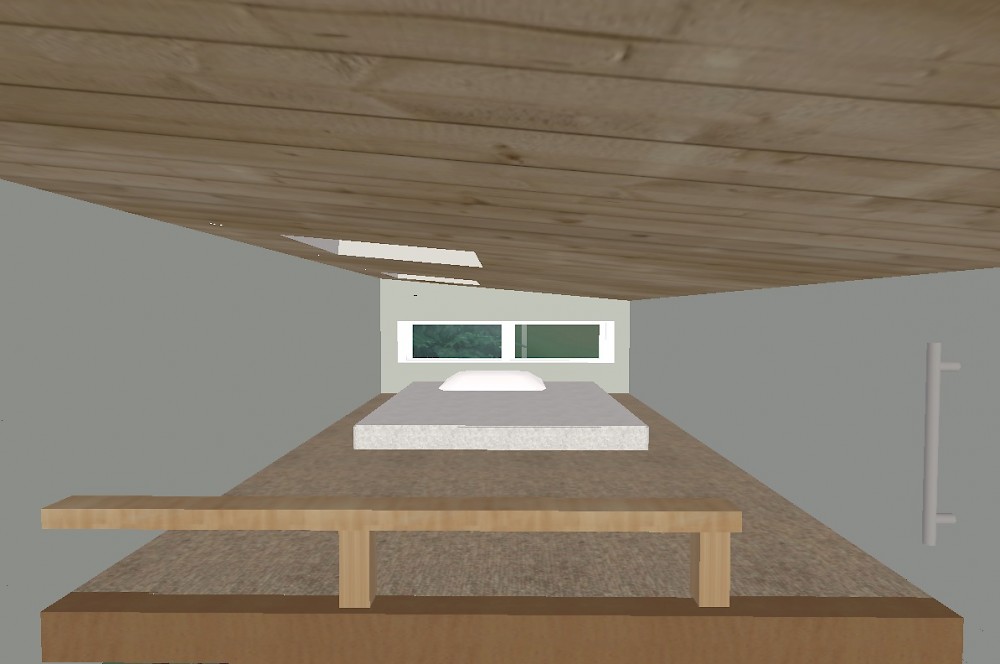
There was one more piece to this puzzle, and that was the issue of headroom at the entrance to the loft. Unlike most tiny houses, the stairs to my loft are on the lower side of the ceiling. While this isn’t ideal, it was a compromise that I felt was justified in light of the rest of the layout/design. Although I had determined that this would be okay, I was still not real happy about it. The “eureka” moment came when I realized that by adding a skylight right above the last stair, I could gain ~6” of headroom in that all important spot.
Not pictured: The A/C unit has been moved from the loft to above the fireplace. I wasn’t too fond of the idea of a noisy A/C unit blaring away next to my head as I’m trying to sleep at night!
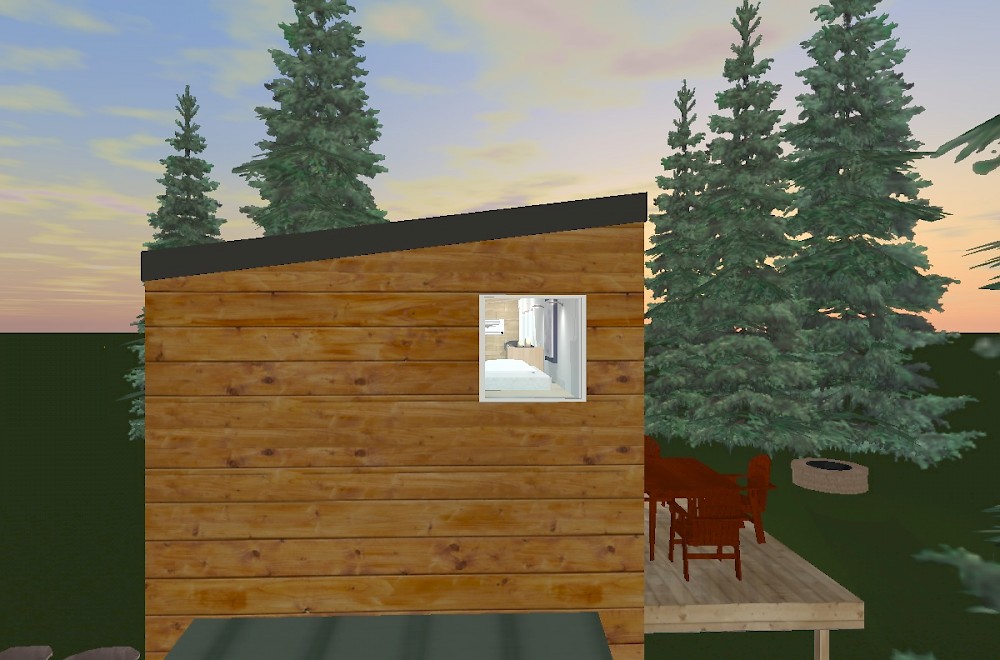
The new window design as viewed from the outside.
Up next: Changes to the kitchen and exterior facade.
Comments: 2 Comments
Comments
Comment by Gabriella on 12 November 2014 12:05 pm
I absolutely love your design! Can't wait to see it built!
Comment by Mike Spooner on 12 November 2014 12:21 pm
Thanks so much, Gabriella. I'm honored :) Your home has been one of my inspirations.
Post a comment